What if there was a simple and fun way to spread greenery and blossoms wherever you go? Seed balls are nature’s answer to this question. These small, self-contained capsules of life are a delightful and eco-friendly way to sow seeds. In this OrganicMotion article, we’ll guide you through the process of making your own seed balls, so you can effortlessly contribute to a greener world.
What Are Seed Balls?
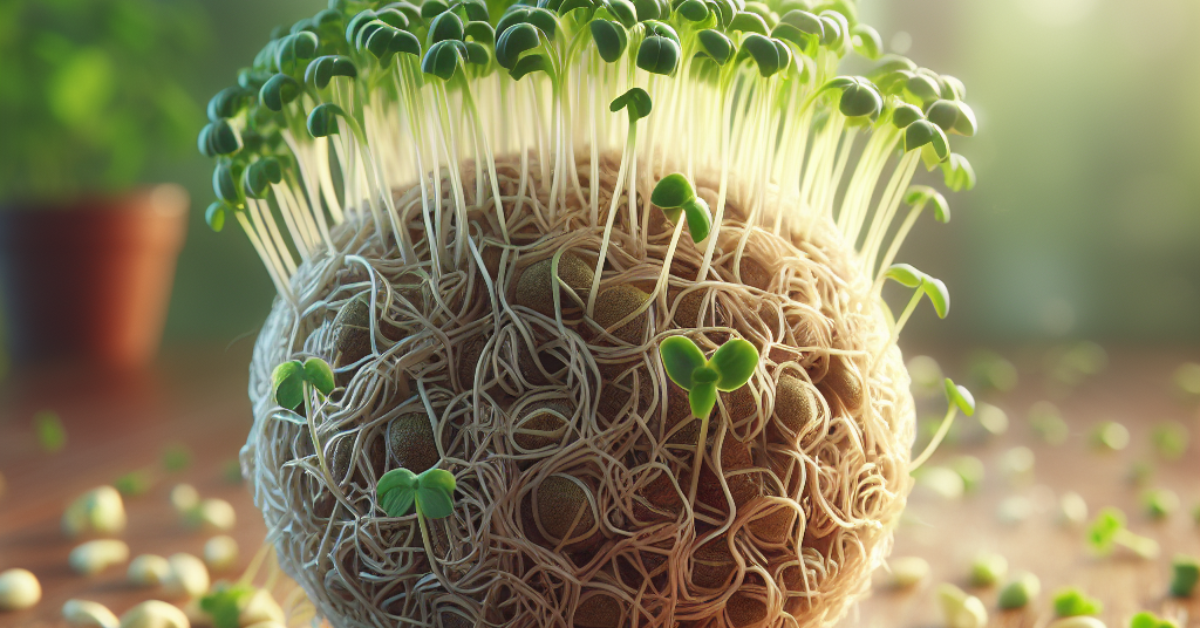
Seed balls, also known as seed bombs or seed grenades, are small spheres made of clay, compost, and seeds. They are designed to protect seeds from harsh environmental conditions and provide them with the nutrients they need for germination.
Materials You’ll Need
- Seeds: Choose native or adapted wildflower seeds, herbs, or even vegetable seeds.
- Clay Powder: You can find this at a local craft store or use natural clay from your surroundings.
- Compost or Potting Soil: This provides essential nutrients for seed growth.
- Water: To mix the clay, compost, and seeds.
- Large Mixing Bowl: For combining the ingredients.
- Baking Sheet or Tray: To dry the seed balls.
- Plastic Bags or Parchment Paper: To avoid sticking.
Step-by-Step Guide
1. Choose Your Seeds
Select seeds that are appropriate for your region, and ideally, native to the area. This ensures that your seed balls will thrive and support local ecosystems.
2. Mix the Ingredients
In your large mixing bowl, combine three parts clay powder, three parts compost, and one part seeds. Adjust the proportions as needed. For example, if you’re making a small batch, use 3 cups of clay, 3 cups of compost, and 1 cup of seeds.
3. Add Water
Gradually add water while stirring the mixture. Aim for a consistency similar to cookie dough. The mixture should be moist but not soggy. If it’s too wet, add more clay. If it’s too dry, add a bit more water.
4. Form Seed Balls
Pinch off small amounts of the mixture and roll them into balls about the size of marbles. Place them on a baking sheet or tray lined with plastic bags or parchment paper to prevent sticking.
5. Dry the Seed Balls
Allow the seed balls to air dry for 24-48 hours or until they are hard and no longer sticky.
6. Store or Distribute
Store your seed balls in a cool, dry place in an airtight container until you’re ready to use them. Or, share them with friends, family, or fellow gardeners to spread the joy of gardening.
7. Sowing Seed Balls
When you’re ready to sow, simply toss the seed balls onto the ground, preferably in an area that could use some greenery. The clay and compost casing provides protection for the seeds and helps retain moisture.
8. Watch and Wait
Now, all that’s left is to wait. As the seasons change and the rain comes, the seed balls will begin to break down. The seeds will then germinate and grow into beautiful plants.
Contribute to the environment
Making seed balls is a delightful way to contribute to the environment while enjoying the simplicity of gardening. These little balls of life are both easy to make and an eco-friendly way to distribute seeds. Whether you want to beautify your garden, enhance a vacant lot, or add a touch of nature to your community, seed balls are a fantastic choice. Share the love and joy of growing green by creating your own seed balls, and watch the world around you flourish.